Content of the Document
This document provides a very short introduction to ChopChop3D workflow as follows:- Setting a Project.
- Importing one or several meshes.
- Loading a Quick Slice Profile.
- Slicing the Project.
- Optionally Visualizing the Toolpath.
- Generating and Saving the GCode.
- Launching the Print.
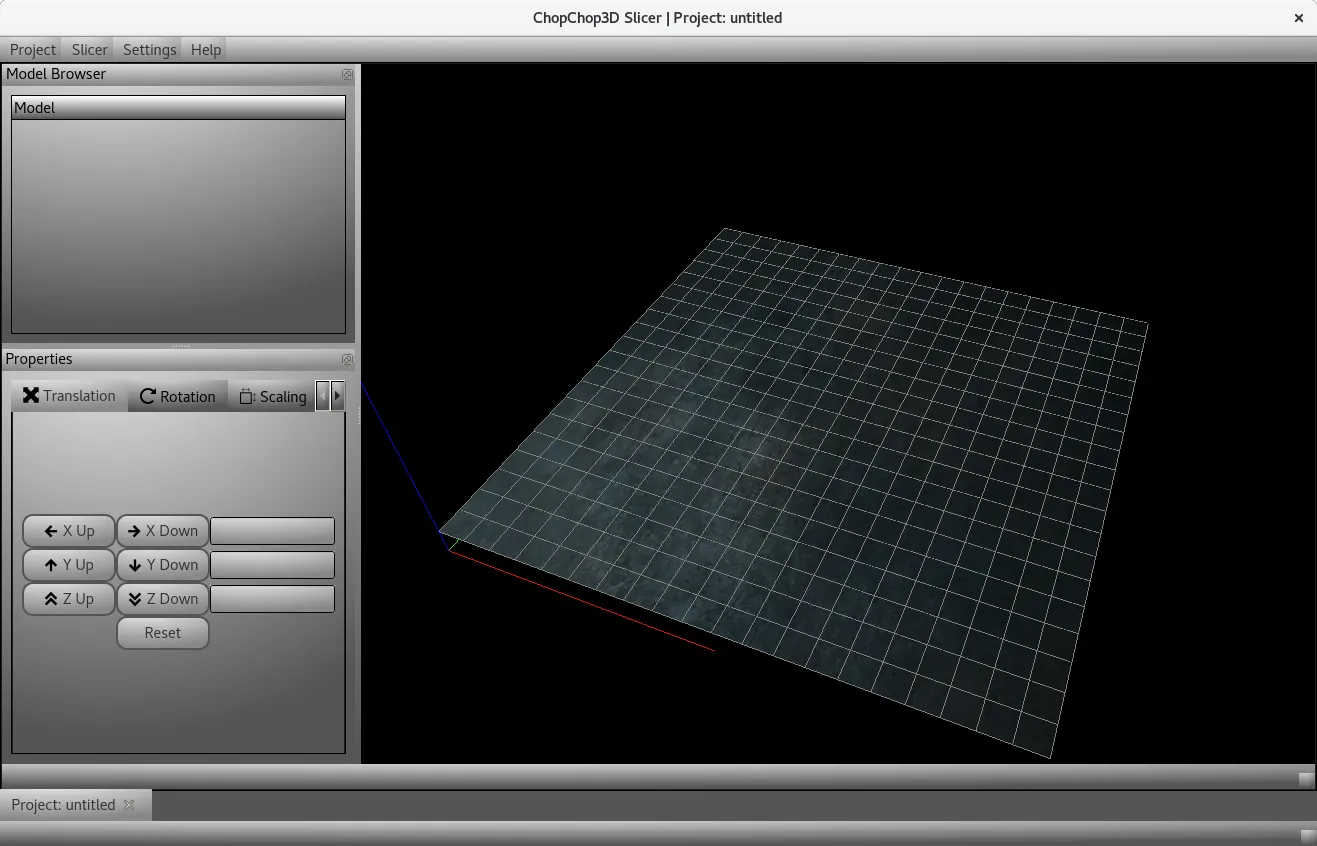
Setting a new Project

Go in the main Menu in Project and click on New
Import one or few STL files
- You can them import a file through the Contextual Menu available through a "Right click" in the viewer "Import Models"
- Alternative 1: Import through Main Menu "Project/Import Models".
- Alternative 2: Drag and Drop a STL model to the Viewer.
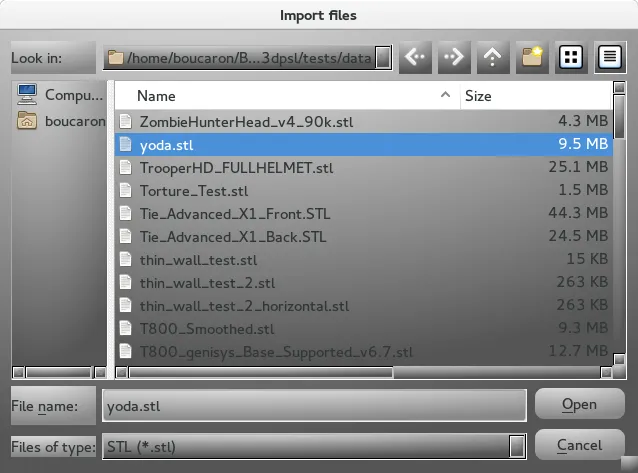
Select a valid STL file and click on Open
If you do not have any STL file, you can get one for instance on thingiverse, youmagine, stlfinder ...etc...
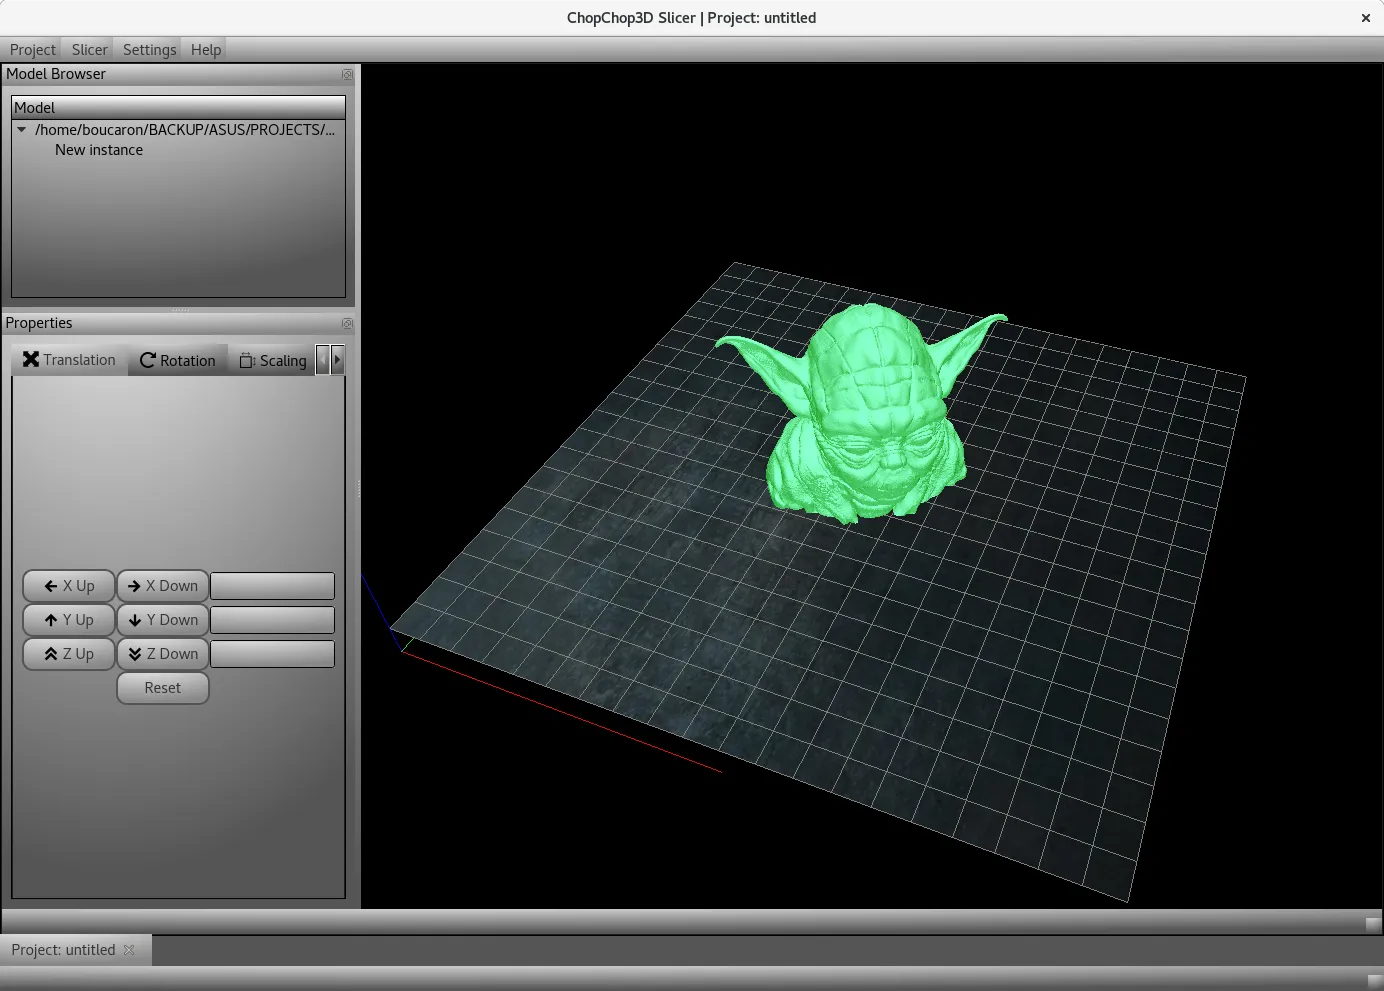
You should see your STL file in the viewer, for instance here a classic "Yoda"
You can import multiple STL files through multiple selection in the Import dialog with Shift (for contiguous multiple selection) and/or Ctrl (for picking and unpicking).
Quick slice
You need at least one STL model in order to have access to Quick slice settings.
Now, you can go in the Main menu and click on "Slicer/Quick slice", that will show you the following dialog.
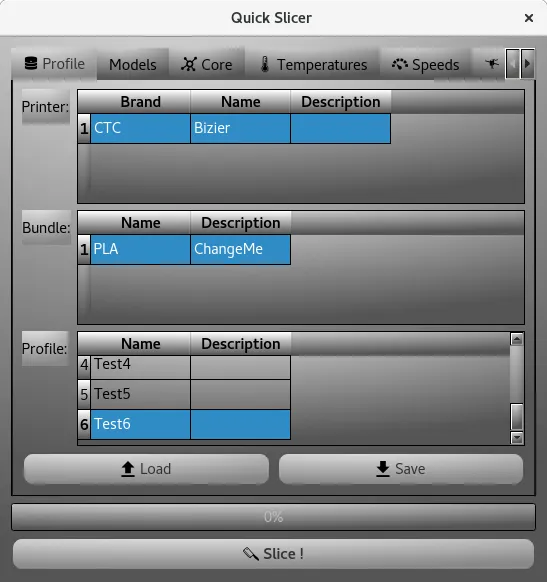
This dialog enables you to set basic slicing parameters that will apply to all layers, and to all 3D models of your project. If you need to refine further per layer or per 3D model, you need to have a look to "Slicer/Slice" configuration.
Loading an existing profile
You can use an existing profile, you can select the Printer, on a click both the Bundle and the Profile will be updated.
Similarly, you need to select a Bundle and finally a Profile.
Then, you can load the selected Profile with the Load button.
You will be asked for Configuration as follows
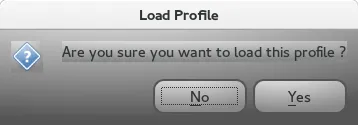
When you click on Yes, it will update all tabs of your current Quick slice dialog.
You can review parameters of the selected profile by browsing tabs and associated dialogs.
Slice the project
Now, you are ready to slice your project.
Go in the Quick Slice dialog at the "Profile" tab and click on the "Slice!" button.
The progress of the Slicing performed is shown in the progress bar of the Quick Slice dialog and at the Status bar of the viewer, also when the slicing is finished a tray icon will notify you that the slicing is finished.
Some slicing statistics can be shown through the menu "Slicer/Statistics"
Print preview (Optional)
Optionally, you can have a look to the print preview to check for the toolpath computed by the Slicer.
You need to select in the Main Menu "Slicer/Print Preview".
Save GCode
Once, the slicing is finished you can save the toolpath through the Main menu "Slicer/Save GCode".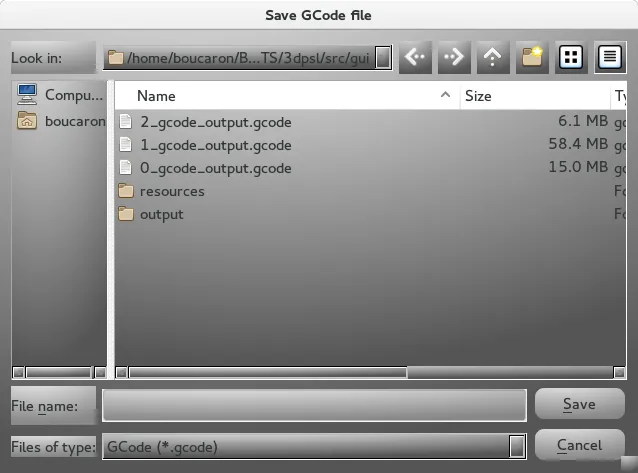
Set the filename and click on "Save".
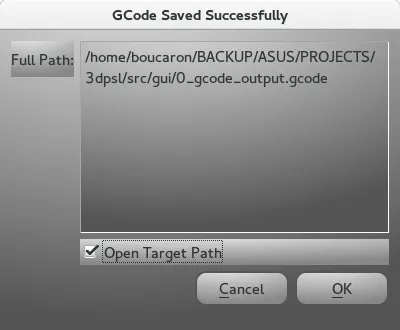
If the file already exists, you will be asked for confirmation to overwrite it as follows

Finally, a dialog is shown allowing you to directly open an "explorer" to drag and drop the file to an SD Card for instance.
Note: Additional statistics will be shown at the Slicing statistics dialog.
Launch the Print
If you have a 3D Printer providing support for external data storage such as a micro SD card a SD Card or a USB Stick storage, we strongly encourage you to use such storage facilities because printing through a "Serial port" on your computer can generate unwanted latencies that can affect your print.
Still, if you do not have the choice you can print through a "Serial port" you need to go in the Main menu at "Slicer/Print" that will popup the following window.