Content of this Document
The purpose of this document is to detail the Scheduling feature inside ChopChop3D Slicer:Introduction
ChopChop3D Slicer considers a print as a set of different printing phases (insets, infills, top/bottom, supports ...), the scheduling is telling the slicer for each part in what order you want to print each print phase. It has several implications on different purposes such as the aesthetic, the strength, the cooling, the time spent printing. The scheduling applies also at a higher level, we call it a printing mode: if you want to print one object after the other one, or all together layer by layer.
Scheduling tab
The Scheduling tab is available whether you are using the Quick Slicer or the Slicer.
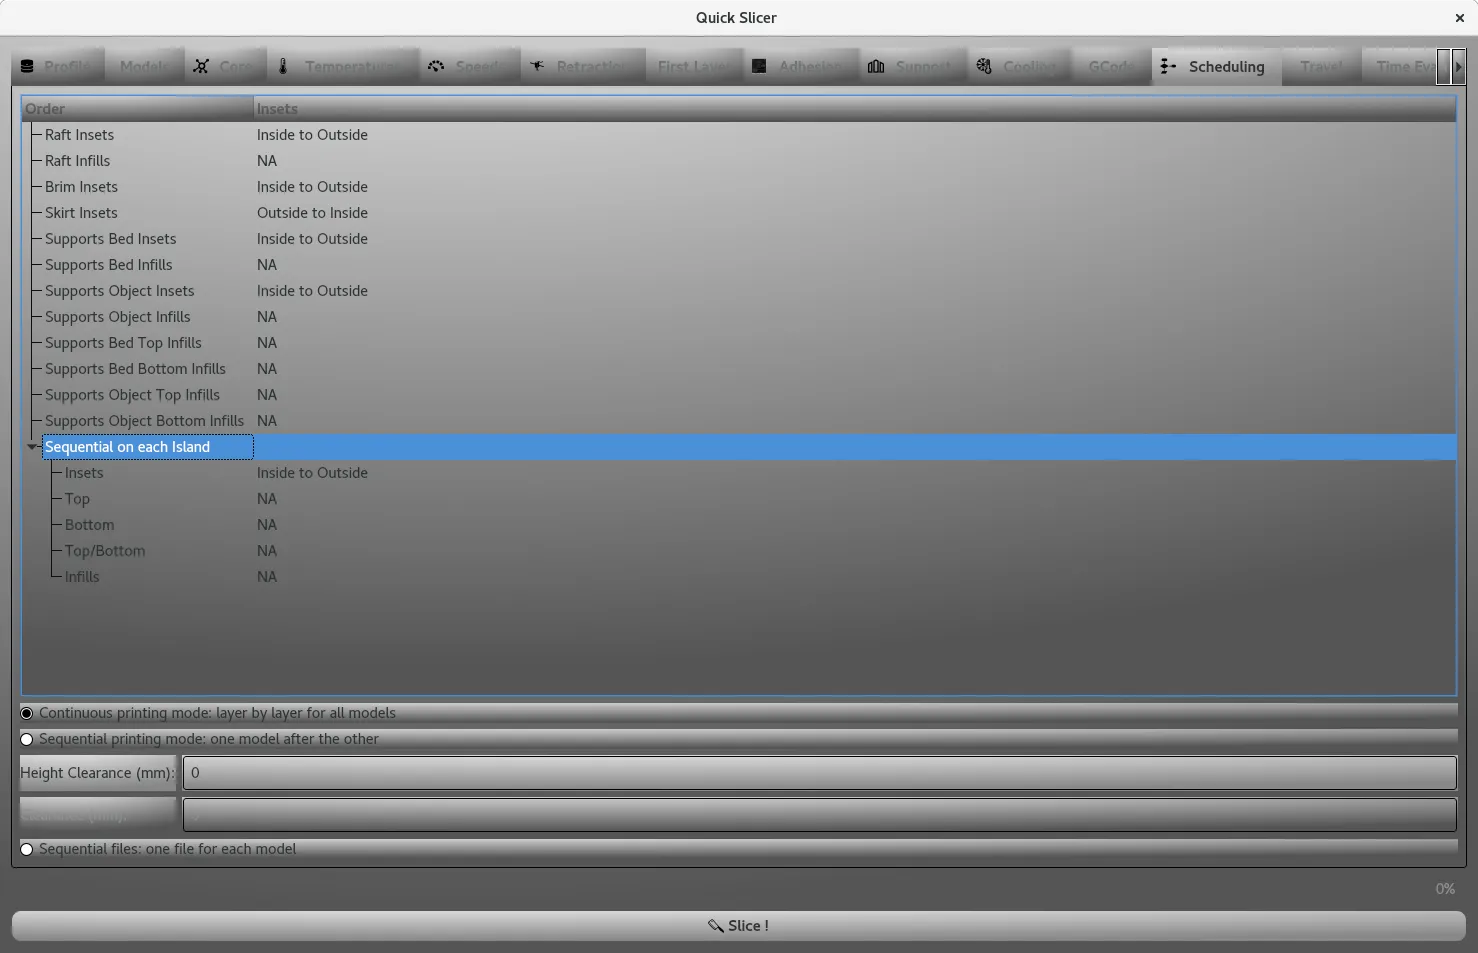
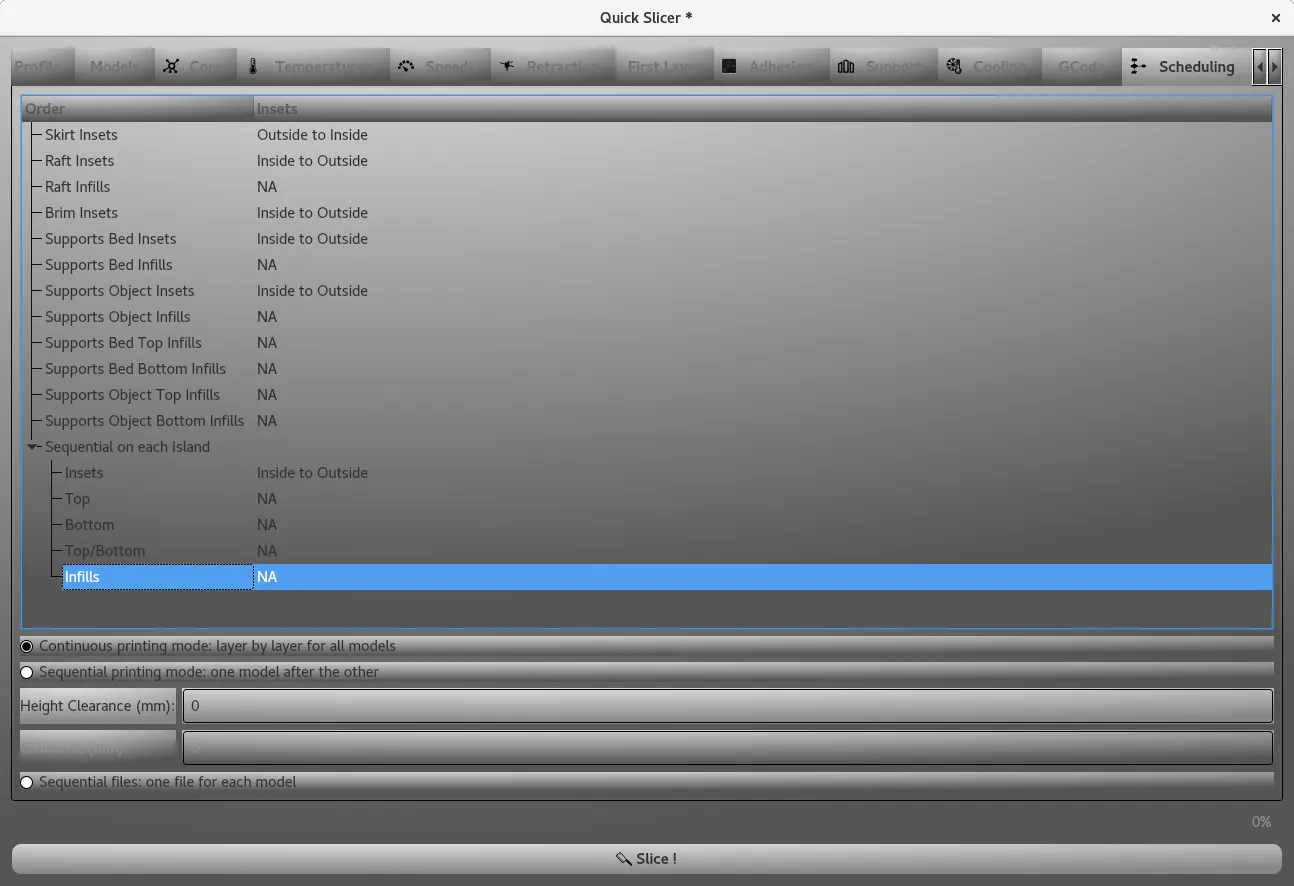
It contains a tree that represents the order of the printing phases
Why a tree ?
We can add specific operations such as Merge paths or Sequential on each Island .
Schedule
In order to modify the schedule, you can pop-up the contextual menu through a right click.
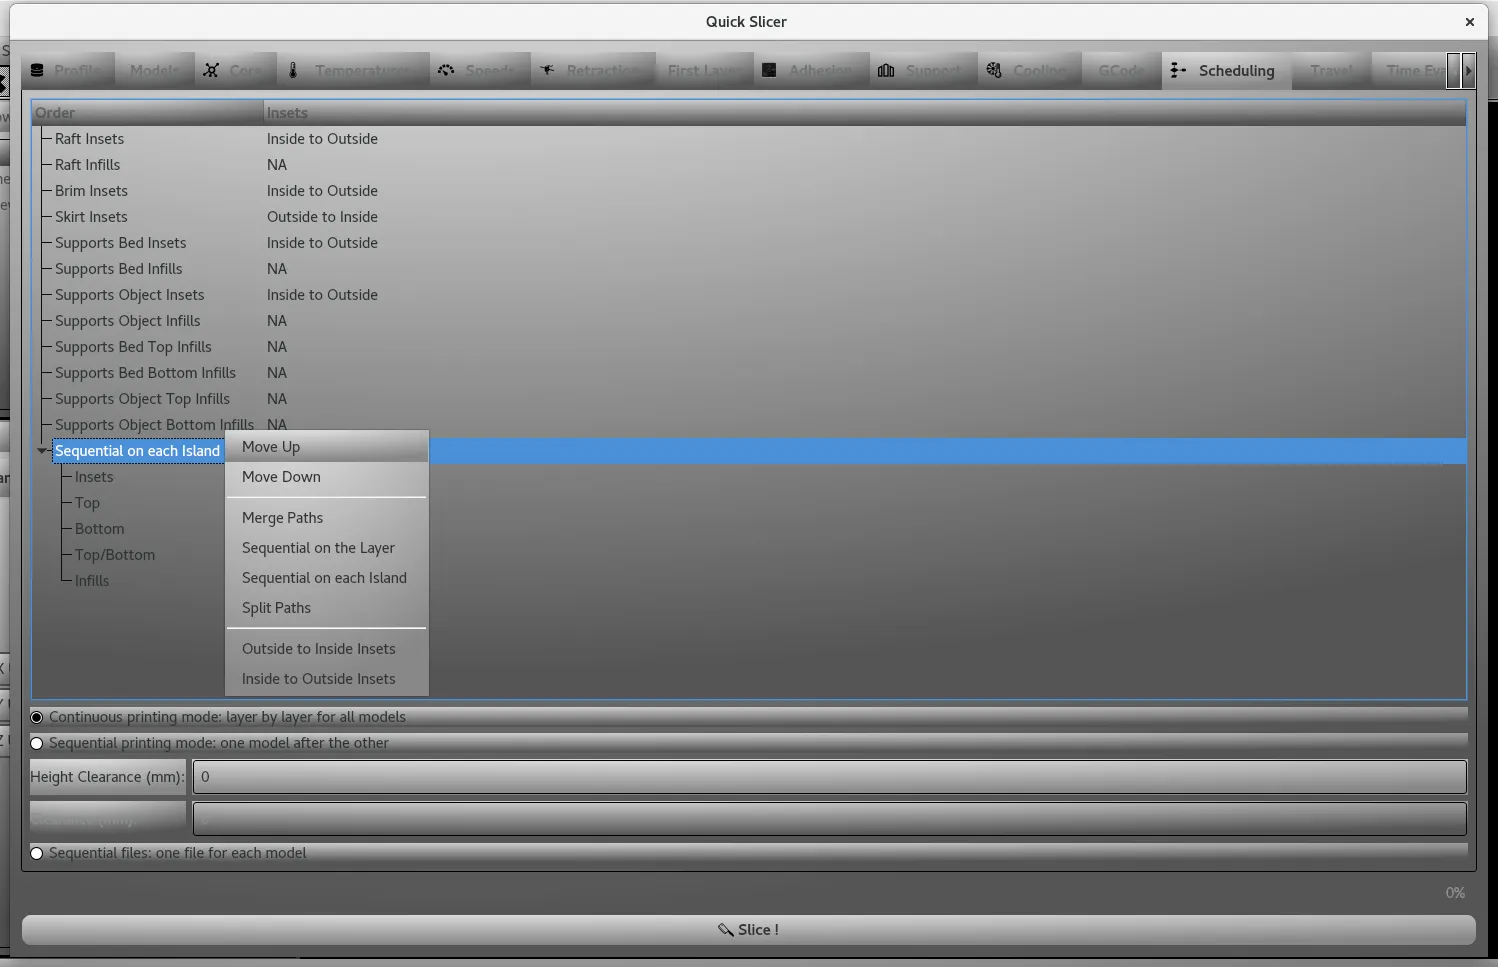
You can Move Up or Move Down any entry according to your order.
You can create new operations:
- Merge Paths that merges printing phases of the same type (inset/infill) having the same extruder.
- Sequential on the Layer which works as a group feature.
- Sequential on each Island which partitions the slice and assigns the subset of the printing phases your associate to it. It allows to print with less travel moves and less retractions.
- Split paths deletes the operation and put back the printing phases underneath.
- Continuous : all models are printed layer after layer: it generates more retractions and more non printing moves that can reduce the quality of the print and increase the time to print. It is the safest choice.
- Sequential : you set a height clearance and you print a chunk of each part (according to the height clearance) one after each other. It reduces the amount of retractions. Be careful you must place models in a certain way on the bed that depends on your 3D printer (it is not supported by all printers), otherwise you can damage your printer and ruin your print.
- Sequential files : you slice several objects at the same time, but you will print them one after each other, a GCode file is generated for each of them.
For the insets printing phases, you can set also if you print them inside to outside or the reverse way.
Printing mode
The printing modes are the following :
Safe template
Follows a safe template from where to start, it offers good speed and good quality for printing and it has also a good cooling for supports.